


A complete guide to checking the quality of your electric trailer braking system and performing routine maintenance and replacement.
Every time you hitch up your trailer, you connect the safety chains and the 7-pin electrical connector, you check the tire pressures and the lights, and as you pull out, you give a squeeze on the trailer brake controller to check the trailer brakes.
But do you know how good those brakes are? Will they stop the load you’re carrying? Will they last for both the outbound and the return legs of your trip?
Before Your Next Trip

Make time to pull together a few tools, get your trailer up on jack stands, take off all the wheels, open up the wheel bearings, and really look over the trailer brakes. You may be surprised at what you find.
How Electric Trailer Brakes Work
Whether you have a new truck with an integrated trailer brake controller or an older truck with an aftermarket controller wired in, the principles of electric trailer brakes are the same: stepping on your brake pedal triggers the brake controller to send a variable voltage to the trailer based on sensing the inertia of the truck to determine its rate of deceleration.
NOTE: Boats trailers have electric-over-hydraulic brakes or non-electric hydraulic surge brakes and will differ from some details in this article.
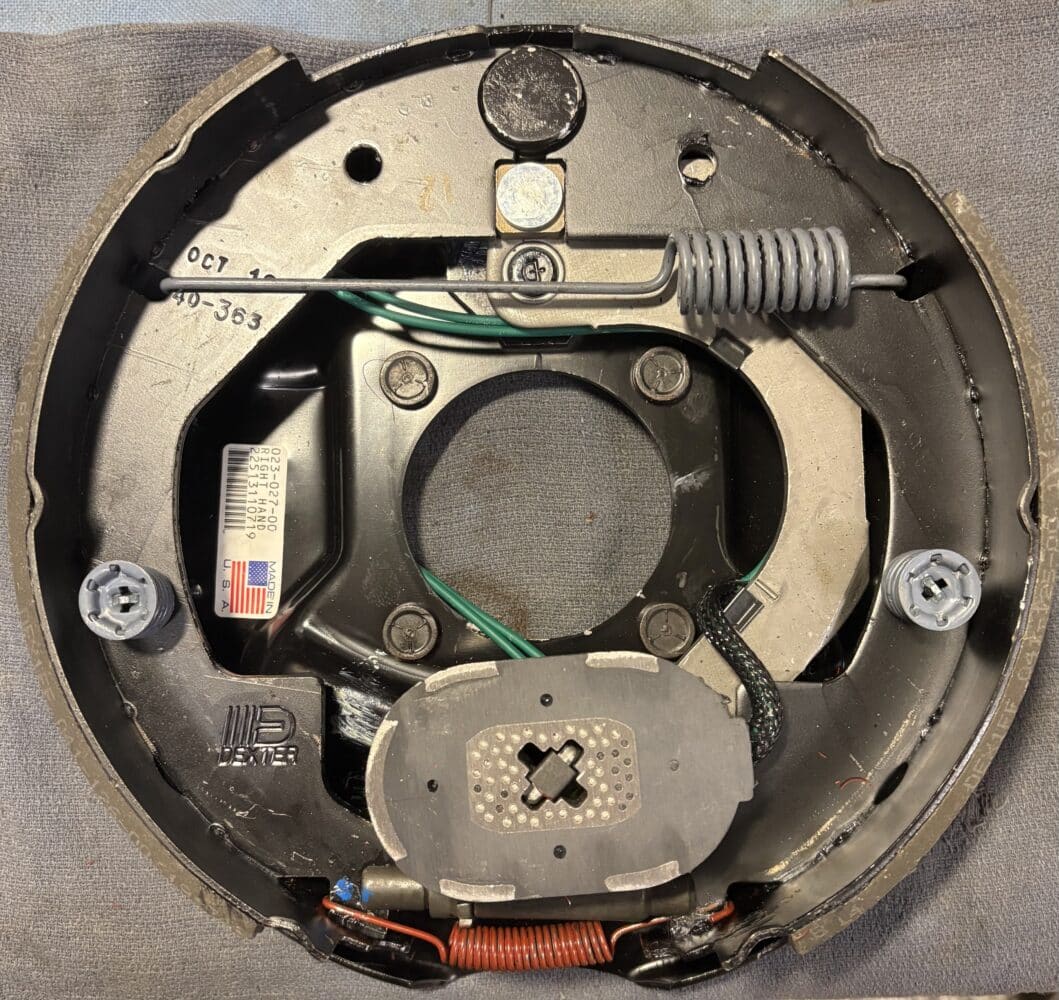
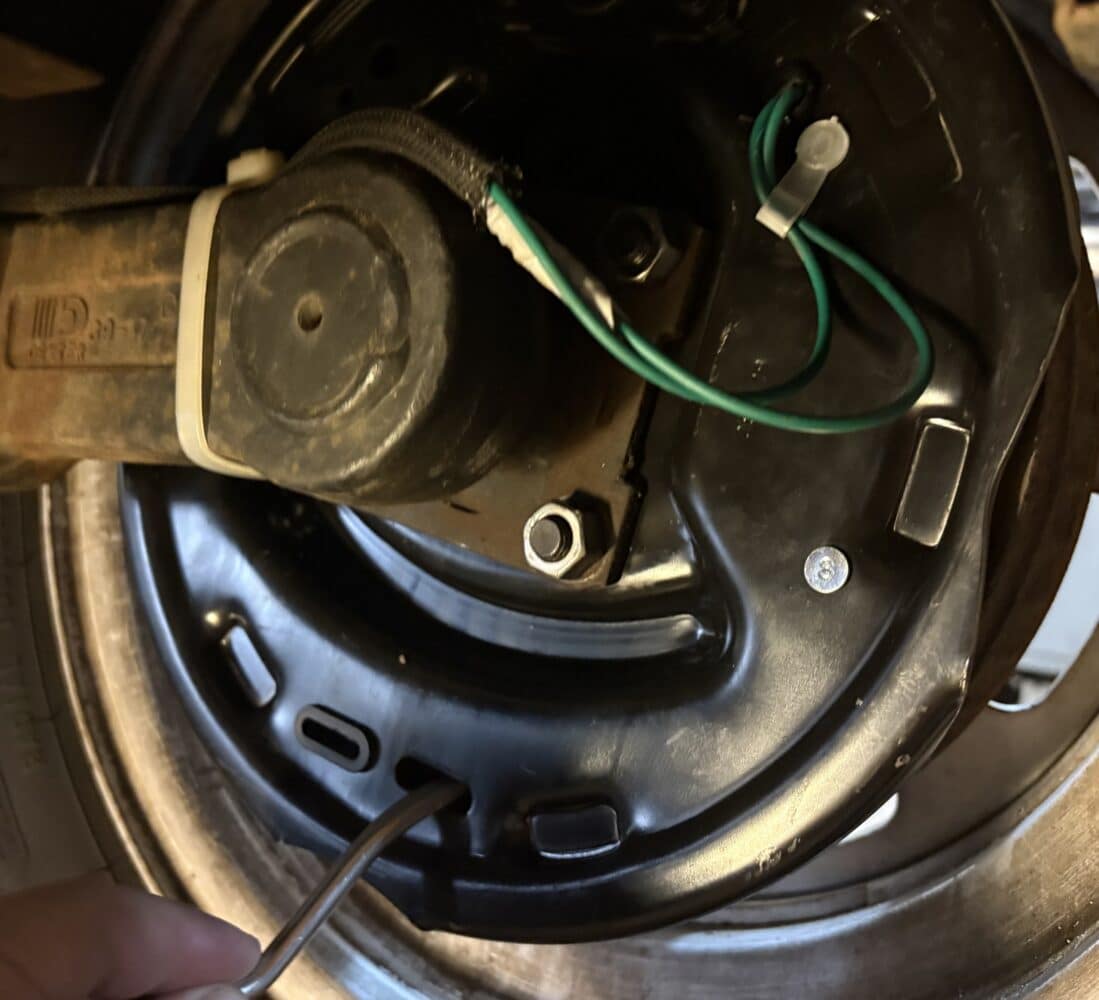
What’s Inside the Drums
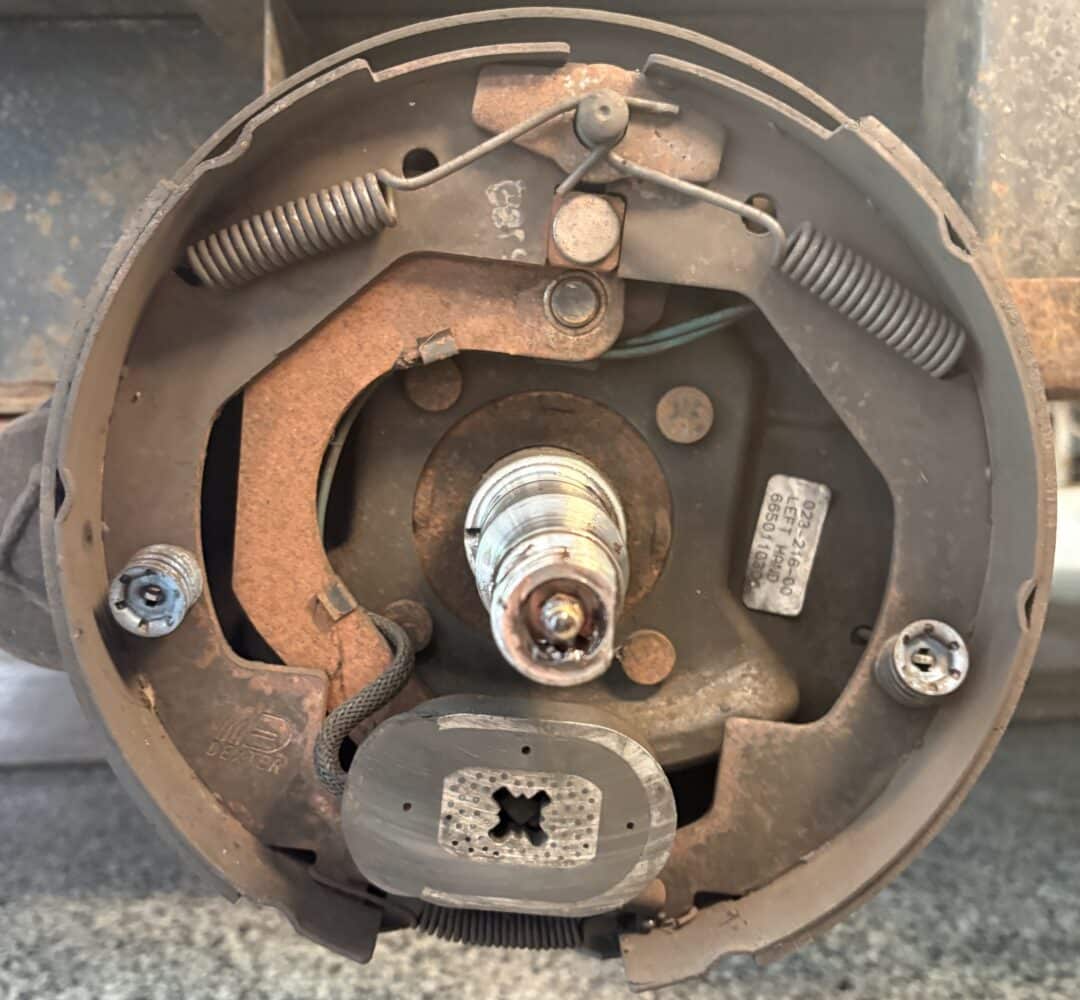
The current from the truck to the trailer isn’t strong enough to operate a servo that could apply pressure to stop the trailer. Instead, the voltage from the truck causes an electromagnetic brake pad to rub on the flat inner surface of the brake drum, kind of like one half of a disc brake system.
Details Inside the Drum
Even that isn’t strong enough to slow the trailer down, but the drag of that brake shoe against the friction surface produces leverage on a reaction arm that causes the brake shoes to expand against the inside of the drum. To provide stronger braking force in the forward direction than in reverse, the direction of motion of the reaction arm is different on the left and right sides of your trailer.
Stopping trailer depends not only on the brake shoes, but also the condition of the electromagnetic pad and the wiring for each wheel. With each brake drum removed, push the pad forward and backward to see if both brake shoes expand outward towards where the drum would be. Check visually to confirm that the two wires still connect the trailer’s wiring to each electromagnetic brake pad.
Replacing Worn Brake Parts
If the brake shoes or the electromagnetic pad need to be replaced due to wear or breakage, you may find that a complete new brake assembly is cheaper than buying just the specific parts you need. A complete all-new brake assembly may be available from your local RV parts counter that simply bolts onto the end of your trailer axle and gets you a completely new brake system, saving the trouble of fighting with brake shoe springs and retainers.
CAUTION: Older trailers may have asbestos-reinforced brake shoe material. Wear a small-particle respiratory mask and DO NOT blow off brake dust with compressed air. Collect all soiled rags and dispose of carefully.
Trailer Brake Wiring

If you replace an electromagnetic pad or install a complete brake assembly, just connect the two wires from the new parts to the existing trailer wiring. The polarity doesn’t matter: the wires can be connected either way.
Be sure to use weather-proof crimp connectors or cover the connectors with weather-resistant tape, and make sure that the wires are secured to the trailer axle and frame so they can move with the trailer suspension, but not snag on objects on the ground.
Finishing Up
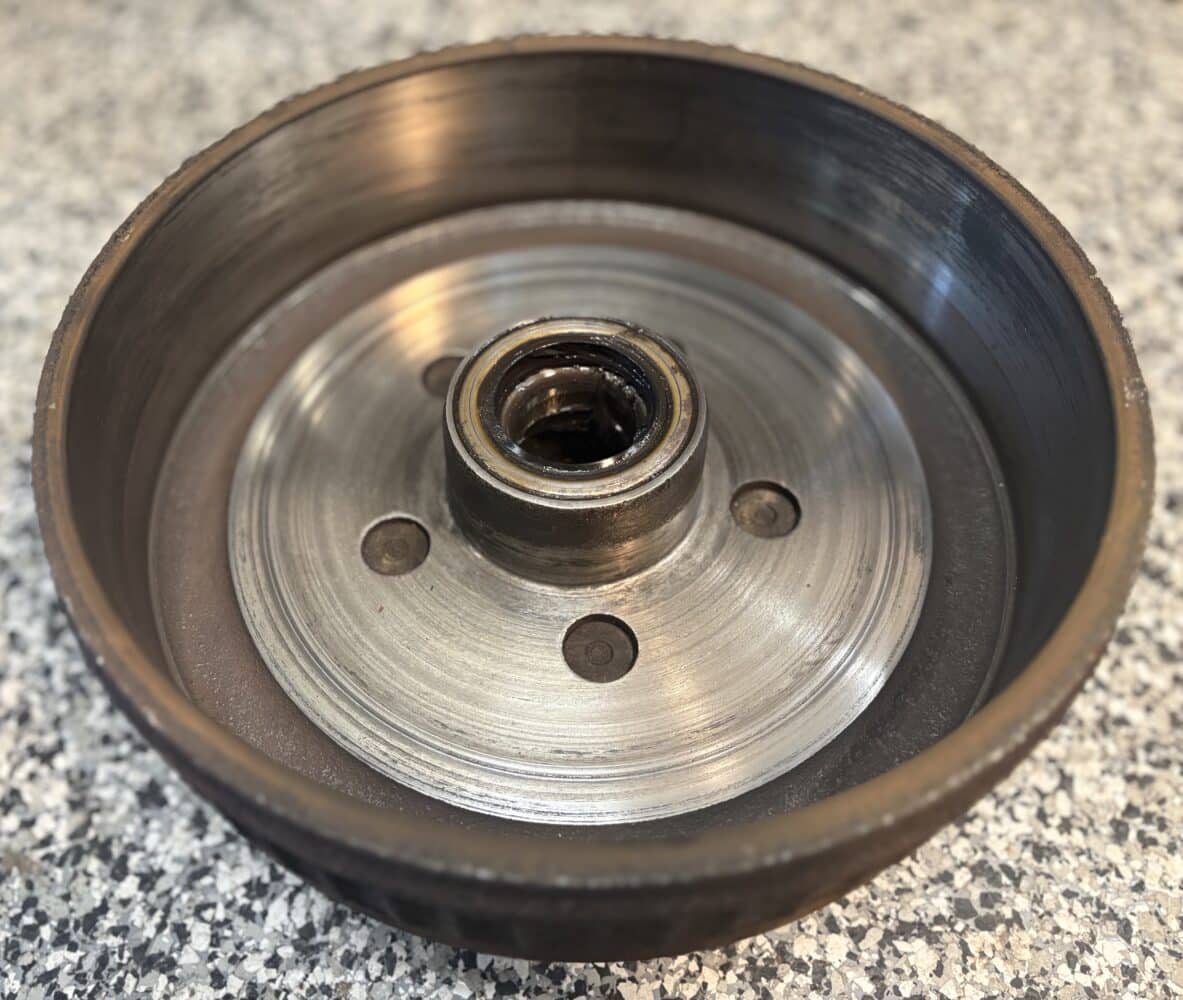
After pressing fresh grease into the wheel bearings and fitting each drum back onto its axle stub, tighten each wheel bearing nut until it is snug, then back the nut off just enough to get the cotter pin or retaining clip to engage the stub axle.
The final step in brake service is adjusting the position of the brake shoes inside the drum. Like the brakes on your dad’s old truck, trailer brake shoes have to be adjusted to match the inside radius of the drums: they don’t automatically self-adjust. Use a small straight-blade screwdriver through the access hole in the back of each backing plate to turn the thumbwheel and expand the heel of each brake shoe out against the drum while spinning the drum with one hand. When you’ve turned the adjuster enough that the drum locks up, back the adjuster off a couple of clicks so that the drum turns smoothly without any drag.
Tighten Up Those Nuts
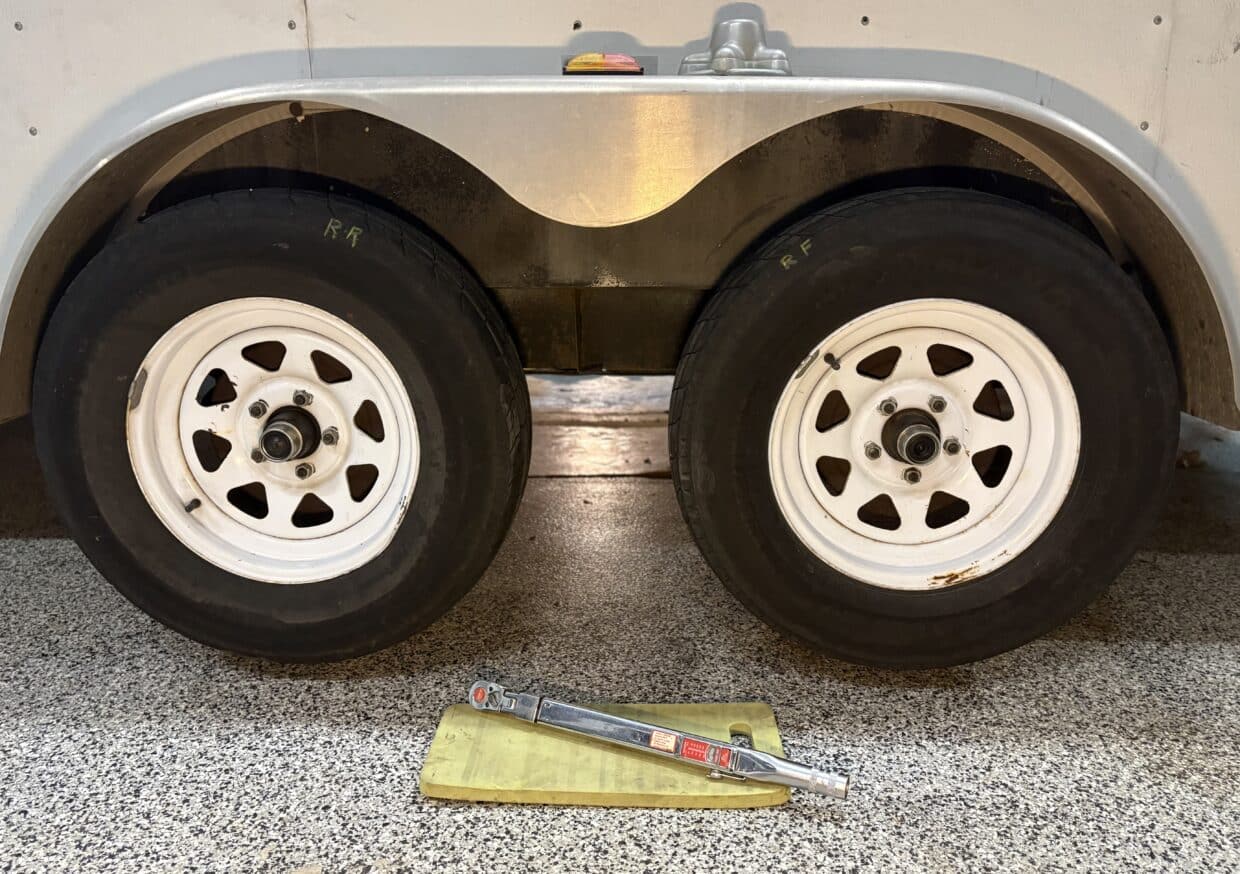
When all the brakes are adjusted, check each tire tread to make sure that they’re all wearing evenly, check the tire pressures, apply a very small amount of anti-seize paste to the wheel studs, replace the wheels, and torque the lug nuts to the trailer manufacturer’s spec.
Test and Adjust
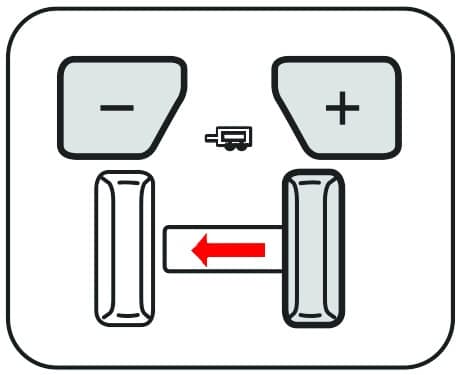
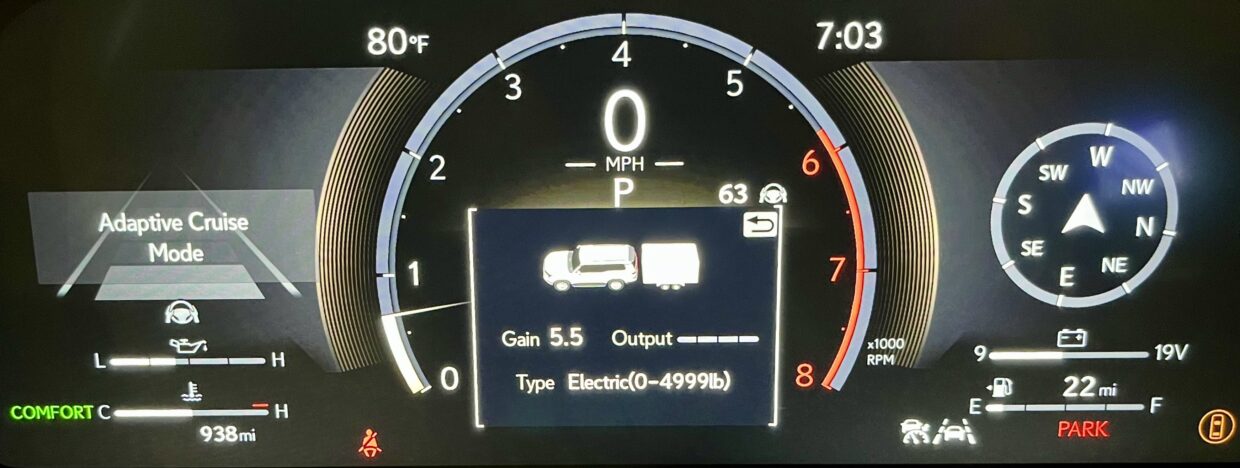
The procedure to calibrate the electric trailer brake controller when your trailer is hitched to your truck will vary depending on the manufacturer, but will typically have you start with the power or gain (selectable braking force) set to its midpoint, often 5 or 6 on the knob or display.
Then, while driving your tow vehicle and trailer on a dry level paved road at a steady 25 MPH, use the manual lever on your controller or dashboard to fully apply the trailer brakes.
- If trailer brakes lock up, use the adjustment controls to turn the power or gain down;
- If trailer braking is not sufficient, increase the power.
Repeat this step until the trailer brake power is set to a point just below wheel lock up or at a sufficient force as to achieve maximum braking power.
Road Test

Finally, make a few low speed stops using the brake pedal to check the power calibration. Note that you will need to re-adjust the selectable brake force on the controller whenever the load of the trailer changes.
With the confidence in a good, complete working brake system, you and your family can enjoy towing in safety.
The post Complete Guide to Electric Trailer Brakes Testing and Maintenance appeared first on Pickup Truck +SUV Talk.